What is Product Lifecycle Management (PLM)?
Learn what Product Lifecycle Management (PLM) is and how it helps teams manage product data, processes, and collaboration across the lifecycle. Discover the key benefits and PLM tools driving innovation.

Bluebeam Revu® allows you to create multi-layered PDFs that organize your content in whichever way most suits your organization. In Revu, there’s always more than one way to complete a task. Below, we’ll look at a few ways you can create a layered document, toggle layers on and off, and assign markups to a specific layer.

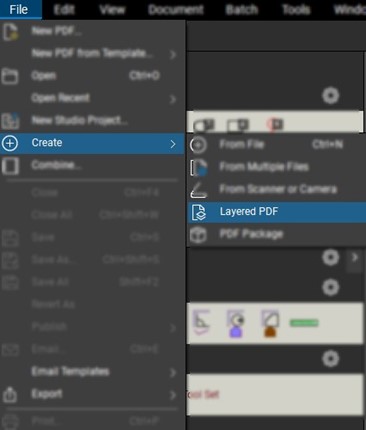
The first method you can use to create a Layered PDF is to navigate to the File menu tab > Create > Layered PDF. This will prompt you to select which files to create a Layered PDF. Browse other files to begin layering.

Another method for utilizing Layers is to utilize the Layers panel. You can create a blank layer to add content or create a layer with content from another document.

You also have the option to create a parent or child layer and select its location before or after any current layers.

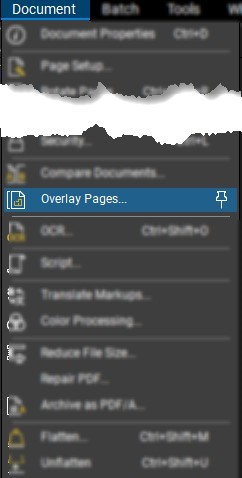
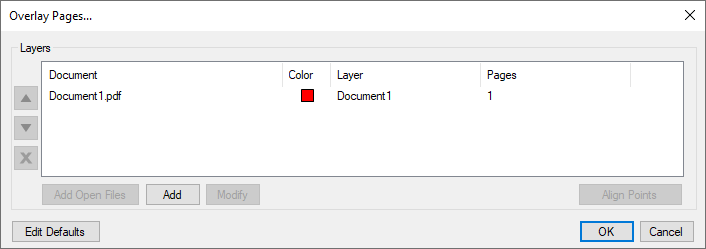
The final method to utilize Layers in Revu is to use the Document menu tab > Overlay Pages. This will allow you to create a PDF from any currently open documents or browse other documents to layer.


NOTE: I prefer this method because you can color the layers and align them if they are not oriented properly.
Once your layers have been configured appropriately, the (eyeball) icon in the layers panel allows you to toggle your layers on or off. A blank box means the layer is not currently turned on.

Once your layers are created, you can begin assigning markups to specific layers. This is a great way to organize who said what.

Select markups in the Markups List. Then, choose which layer to assign the selected markups from the Layers column.
Contact us to learn more about Bluebeam or book a free demo.
Author: Alex Arriaga
Learn what Product Lifecycle Management (PLM) is and how it helps teams manage product data, processes, and collaboration across the lifecycle. Discover the key benefits and PLM tools driving innovation.
Discover what ISO 19650 is, how it supports BIM information management, and why it’s essential for digital construction. Learn how Symetri Ireland can help your team implement ISO 19650 workflows.
A simulation is an imitation of a real system or process. It is used to understand, predict, or analyze how a system behaves under different conditions.
